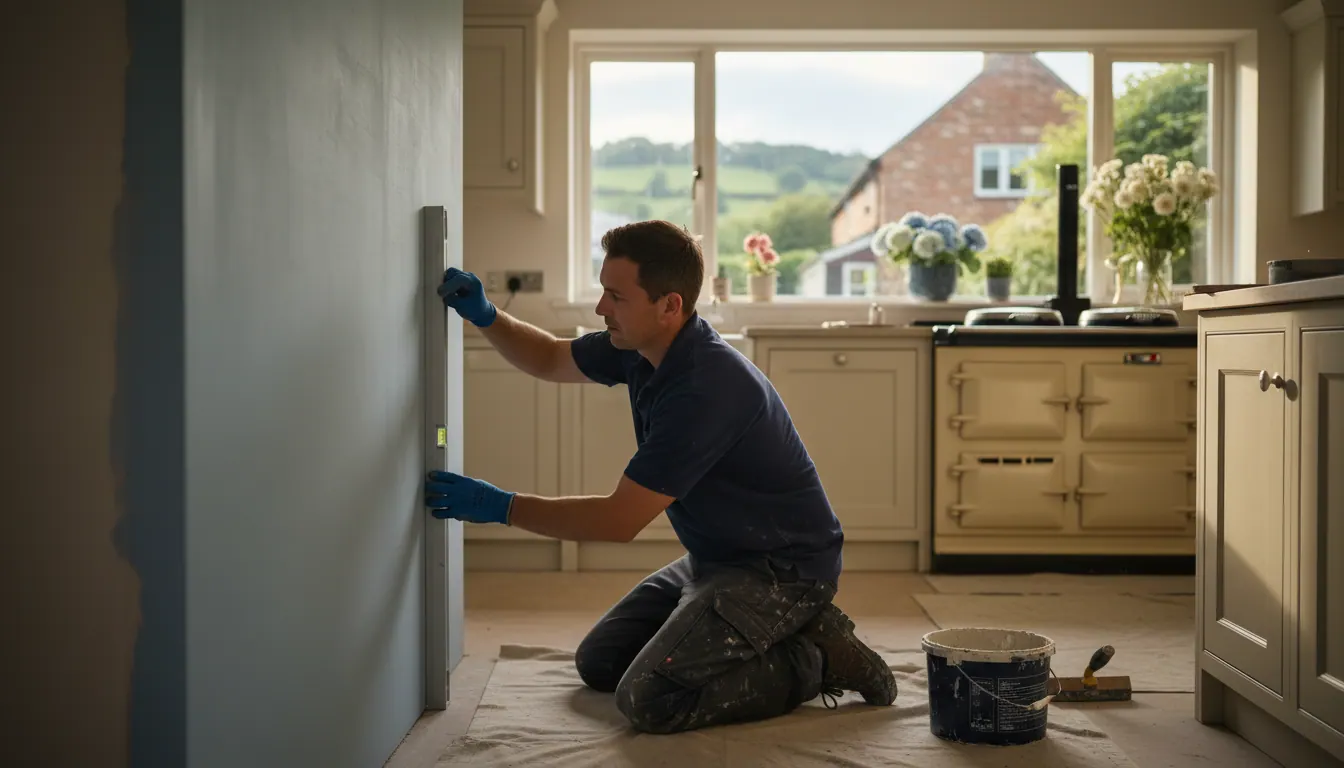
Painting Fresh Plaster in Bathrooms Across South Yorkshire: Why You Must Wait and What Happens If You Don't
Fresh plaster in your bathroom needs a mist coat before anything else. Here's exactly how we do it right across Barnsley, Sheffield and South Yorkshire.
Fresh plaster and paint do not mix well, unless you do this first
New plaster is thirsty. That sounds simple, but it catches out a lot of homeowners across South Yorkshire who assume that once the walls are smooth and dry, you can crack on with your chosen colour. You can't. Skip the mist coat and the paint will peel, flake or dry patchy before you've even finished the first wall. We've walked into plenty of bathrooms in Barnsley, Sheffield and the surrounding villages where someone's done exactly that, and the remedial work is always more effort than doing it right first time.
This article covers everything you need to know about painting fresh plaster in a bathroom: what a mist coat actually is, how to mix it, how to apply it, and why the bathroom environment demands a little extra care compared to a bedroom or a hallway.
Why fresh plaster behaves differently from a painted wall
When plaster is first applied, it's highly porous. As it dries, it pulls moisture out of anything it comes into contact with, including paint. Apply a full-strength emulsion straight onto bare plaster and the plaster sucks the moisture out too fast. The paint dries before it can bond properly. You end up with a powdery, uneven finish that lifts away from the surface, sometimes in sheets.
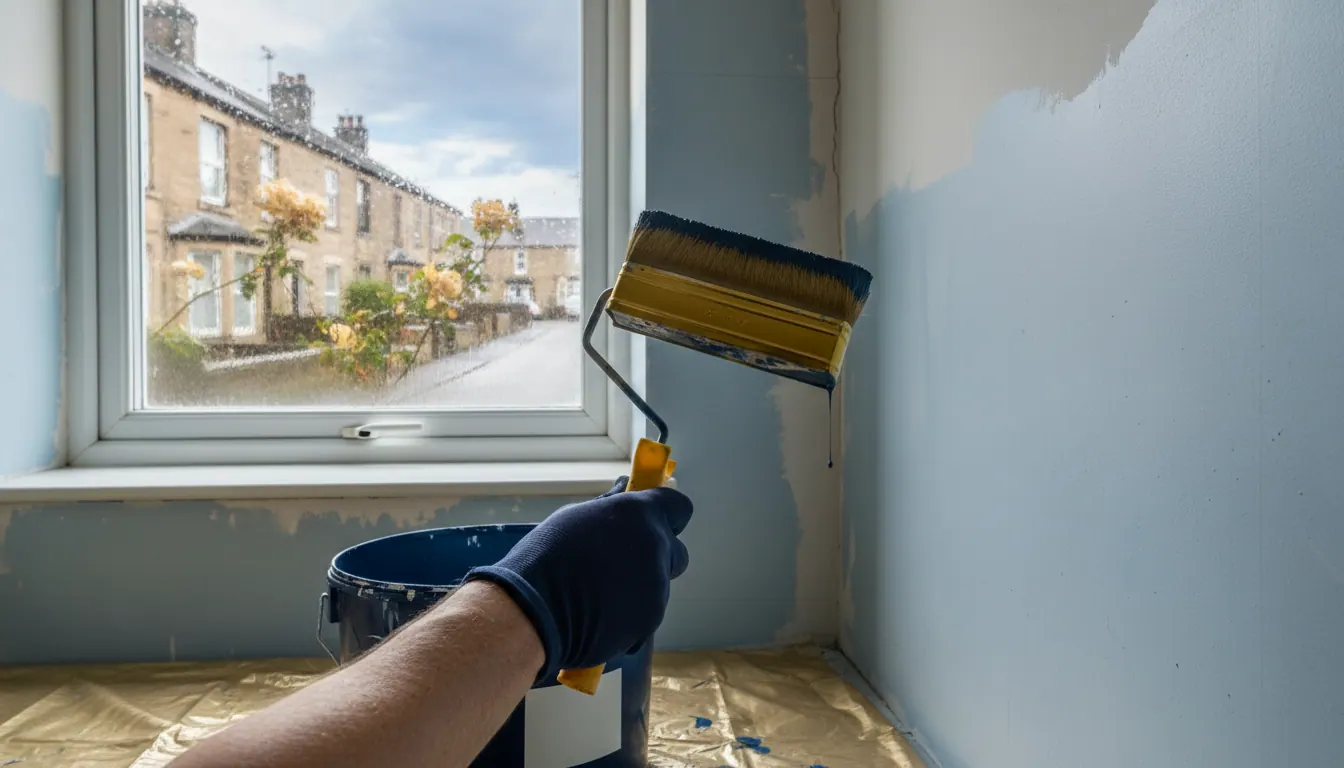
A mist coat solves this by sealing the surface gradually. It's a thinned-down emulsion that soaks into the plaster rather than sitting on top of it, giving the wall something to grip when the full-coat paint goes on.
Bathrooms add another layer of complexity. Steam, condensation and temperature changes put constant pressure on any painted surface. If the bond between paint and plaster isn't solid from the start, the bathroom environment will find the weakness quickly. We've seen paint bubbling off a bathroom ceiling in Wombwell within months because the mist coat was either skipped or done with the wrong product.
Waiting for plaster to dry: the part nobody wants to hear
Before you even think about paint, the plaster needs to be fully dry. Fresh plaster starts out a deep, saturated pink-orange and gradually turns a pale, consistent pink as it dries. Fully dry plaster is a uniform light pink or off-white across the whole surface, with no darker patches.
In a bathroom, this takes longer than in most rooms. Poor ventilation, no direct sunlight, and the natural humidity of the space all slow the drying process. In a South Yorkshire winter, with the heating on and the extractor fan running, you might wait two to three weeks after plastering before the walls are genuinely ready. In summer with windows open, it can be faster, but don't rush it.
Painting over damp plaster is one of the most common mistakes we see. The moisture gets trapped, the paint fails, and you're back to square one. If you want to know more about how we approach the plastering stage itself in a full bathroom renovation, our article on plastering a full bathroom in Barnsley covers the boarding, skimming and spotlight prep in detail.
What is a mist coat and how do you mix it?
A mist coat is simply a watered-down emulsion. You use a standard water-based matt emulsion, not a silk or satin finish, and you thin it down so it flows into the plaster rather than sitting on the surface.
The standard ratio most decorators use is roughly three parts paint to one part water, though some go as far as half and half on very porous or newly skimmed surfaces. There's no single magic number because plaster porosity varies, but a good starting point is mixing around 20 to 30 percent water into your emulsion and checking how it handles on the wall.
A few practical points:
- Use a cheap white or off-white matt emulsion for the mist coat. There's no need to use your expensive finishing colour at this stage.
- Stir the mix thoroughly before you start. Water and emulsion separate quickly.
- Apply with a brush or roller. A roller works well on large flat walls; a brush is better for getting into corners and around fittings.
- Work the mist coat into the surface rather than just rolling over it. You want it to penetrate, not pool.
- Expect it to look uneven and patchy as it goes on. That's normal. It will dry more consistently than it looks when wet.
Some people ask about dedicated bare-plaster paints or sealing products. These do exist and can work well, but a properly mixed mist coat with a decent matt emulsion is what most professional decorators use day to day, and it's what we use too.
How many coats does fresh plaster need?
After the mist coat has fully dried (usually overnight, though longer in a cold or humid bathroom), you'll apply your first full coat of emulsion. At this stage, you're still likely to see some unevenness, particularly where the plaster is slightly thicker or where joins were made between boards.
Most fresh plaster walls need:
- One mist coat
- Two full coats of emulsion
In bathrooms, we always use a bathroom-specific emulsion for those finishing coats. Standard emulsions aren't formulated to handle steam and condensation. A bathroom emulsion contains mould inhibitors and has better moisture resistance. It's worth using the right product here rather than cutting corners with whatever's left from the living room.
Allow each coat to dry fully before applying the next. In a bathroom with limited ventilation, that might mean leaving it overnight between coats and keeping the window open or the extractor running to help the room breathe.
Ceilings need the same treatment
A lot of people remember to mist coat the walls and forget that the ceiling has been freshly plastered too. The same rules apply. New plaster on a bathroom ceiling is just as porous as the walls, and it's also the surface most exposed to rising steam from baths and showers.
We board, skim and finish bathroom ceilings as part of a full renovation, and the painting sequence is the same: wait for full dryness, mist coat first, then two coats of a proper bathroom emulsion. If you've had spotlights fitted as part of a ceiling lowering, make sure the plaster around the fittings is fully dry before painting close to them.
What Sandra noticed about professional finish
Getting these stages right is the difference between a bathroom that looks sharp for years and one that starts to look tired within months. Sandra Hirst, one of our customers, put it simply:
Great work from P&M Home Improvements, very professional, friendly and thorough, would recommend for any home improvement
That thoroughness she mentions isn't just about the visible finish. It's about doing every stage in the right order, including the unglamorous bits like waiting for plaster to dry and applying a coat of thinned-down white emulsion that nobody will ever see. The prep is what makes the finish.
Bathrooms with large-format tiles and painted areas
Many bathrooms across Barnsley and Sheffield now combine floor-to-ceiling tiling in the shower area with painted plaster on the remaining walls. This is a common layout in semi-detached and terrace homes across South Yorkshire, where the shower wall gets tiled and the rest of the room is painted.
Where tiling and painted plaster sit next to each other, the transition needs to be clean. The plaster behind the tiles is tanked and prepped differently, but the painted plaster walls still need the full mist coat process. Getting the tile-to-paint junction right is part of the snagging process we go through at the end of every job.
If you're thinking about the tiling side of a bathroom renovation, our article on large-format tiling in Sheffield bathrooms explains why tile size affects both the look and the ongoing cleaning.
Frequently asked questions
What paint should I use on fresh plaster in a bathroom? Start with a mist coat made from standard water-based matt emulsion thinned with water. Once that's dried, use a bathroom-specific emulsion for your finishing coats. Bathroom emulsions are formulated to resist steam and moisture and contain mould inhibitors, which matter in a room that sees daily condensation. Standard emulsion will work short-term but tends to fail faster in a wet environment.
What is the right ratio for a mist coat on new plaster? A common starting point is three parts emulsion to one part water. On a very porous or freshly skimmed surface, you can go closer to equal parts. The aim is a consistency thin enough to soak into the plaster rather than sit on top of it. Mix thoroughly and apply in one even coat, working it into the surface.
Do you need to seal fresh plaster before painting? Yes. The mist coat is effectively your sealing step. It closes the surface enough for full-strength emulsion to bond properly. Skipping it and going straight to full-strength paint is the single most common cause of peeling and flaking on newly plastered walls and ceilings.
How long should I wait before painting fresh plaster in a bathroom? Longer than most people expect. Look for the plaster to be a consistent, uniform pale pink or off-white with no dark or damp patches. In a bathroom with limited ventilation, that can take two to three weeks, especially in cooler months. Painting over plaster that still has damp patches is the most reliable way to end up with a failed finish.
Get in touch
Every bathroom we take on across Barnsley, Sheffield and South Yorkshire gets the full sequence: proper prep, correct materials, each stage done in the right order. If you're planning a bathroom renovation or just need a fresh plaster room decorated properly, we're happy to come and take a look and give you a free quote. Visit us at pm-homeimprovements.co.uk to find out more or get in touch.